
Walser Pistenraupen Modellbau
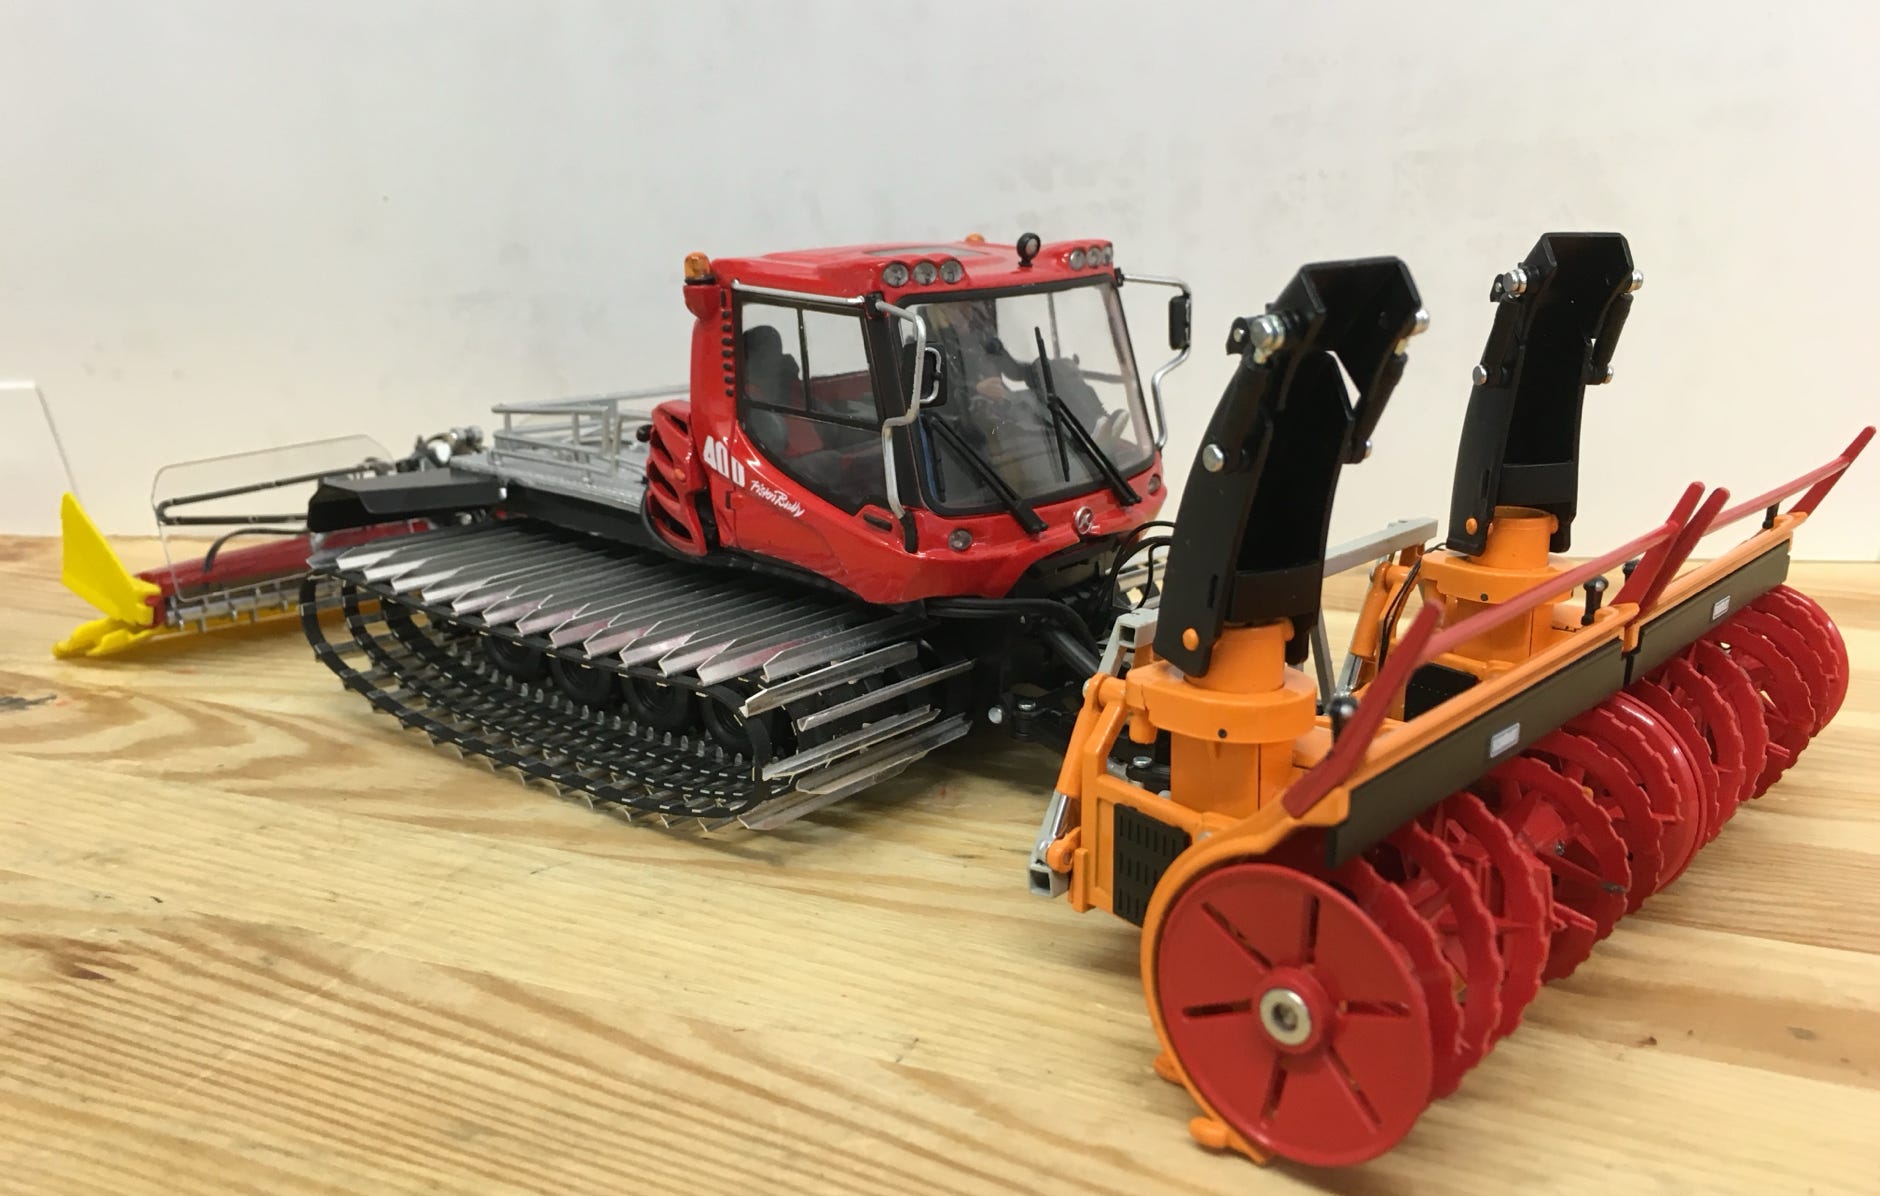
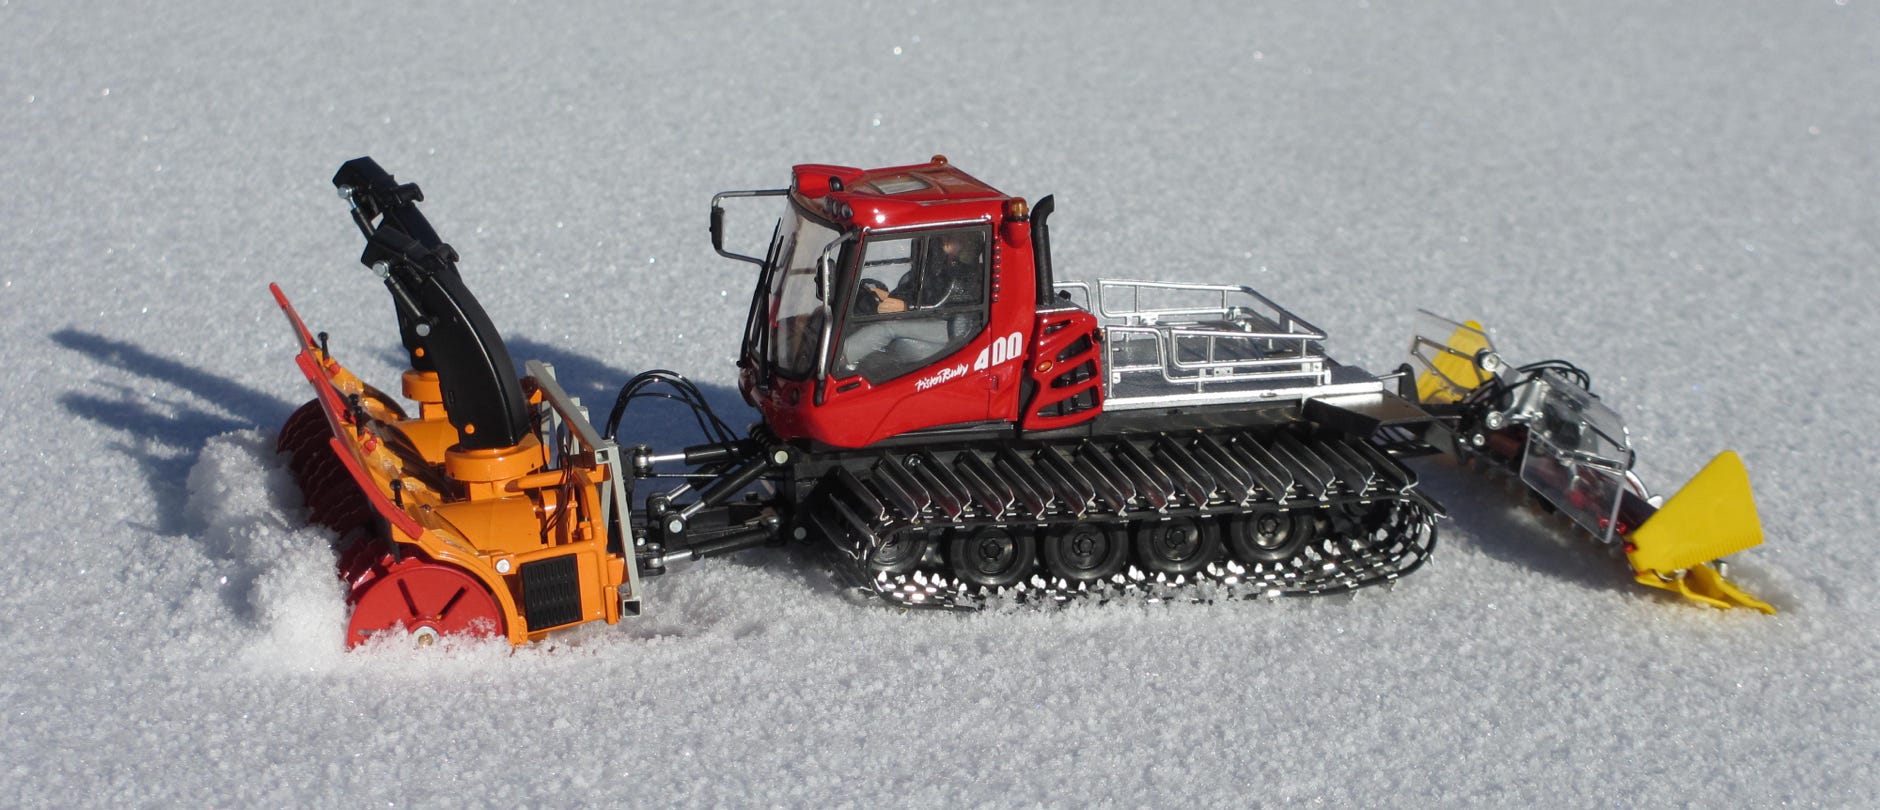
Wiking models features a beautifully detailed model of a Schmidt two stage snowblower in 1:32, which matches exactly the scale of my JC PistenBully 400.
Albert bought two of these models on a suggestion by Klaus Bergdolt, who already successfully motorized such a snowblower. These are combined to functioning double snowblower.
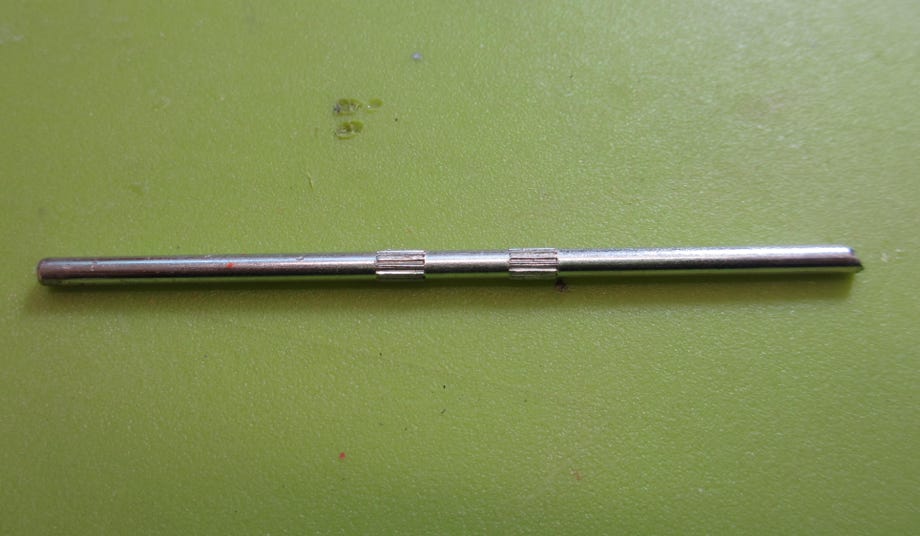
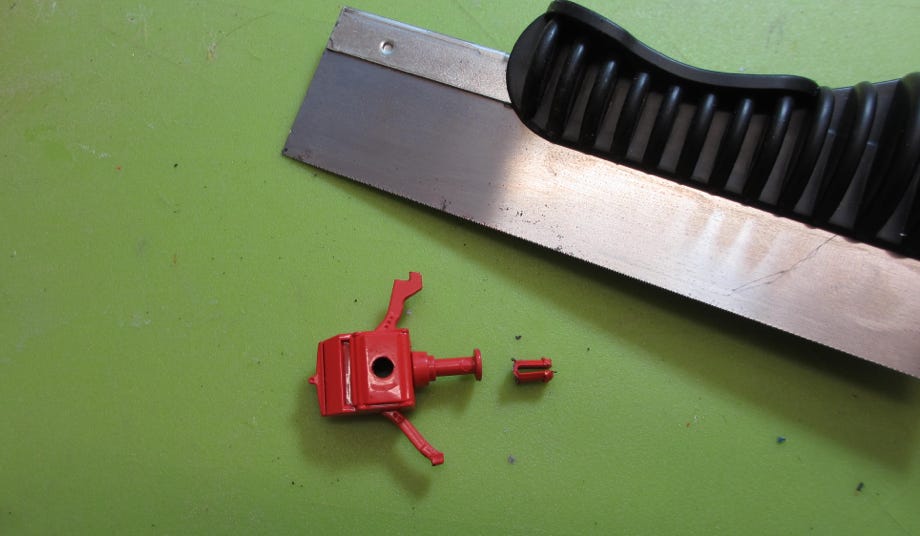
First the snowblower has to be disassembled. Especially the drum shaft shows significant resistance. The end disks are pressed on to the shaft, and the blower drums are fixed by a ribbing. I carefully drilled out one end of the shaft, and then pressed out the shaft on a drill press so far until a drum could be removed. The remaining parts could then be removed relatively easy.

Drilling out one shaft end
Shaft with ribbing for the drums
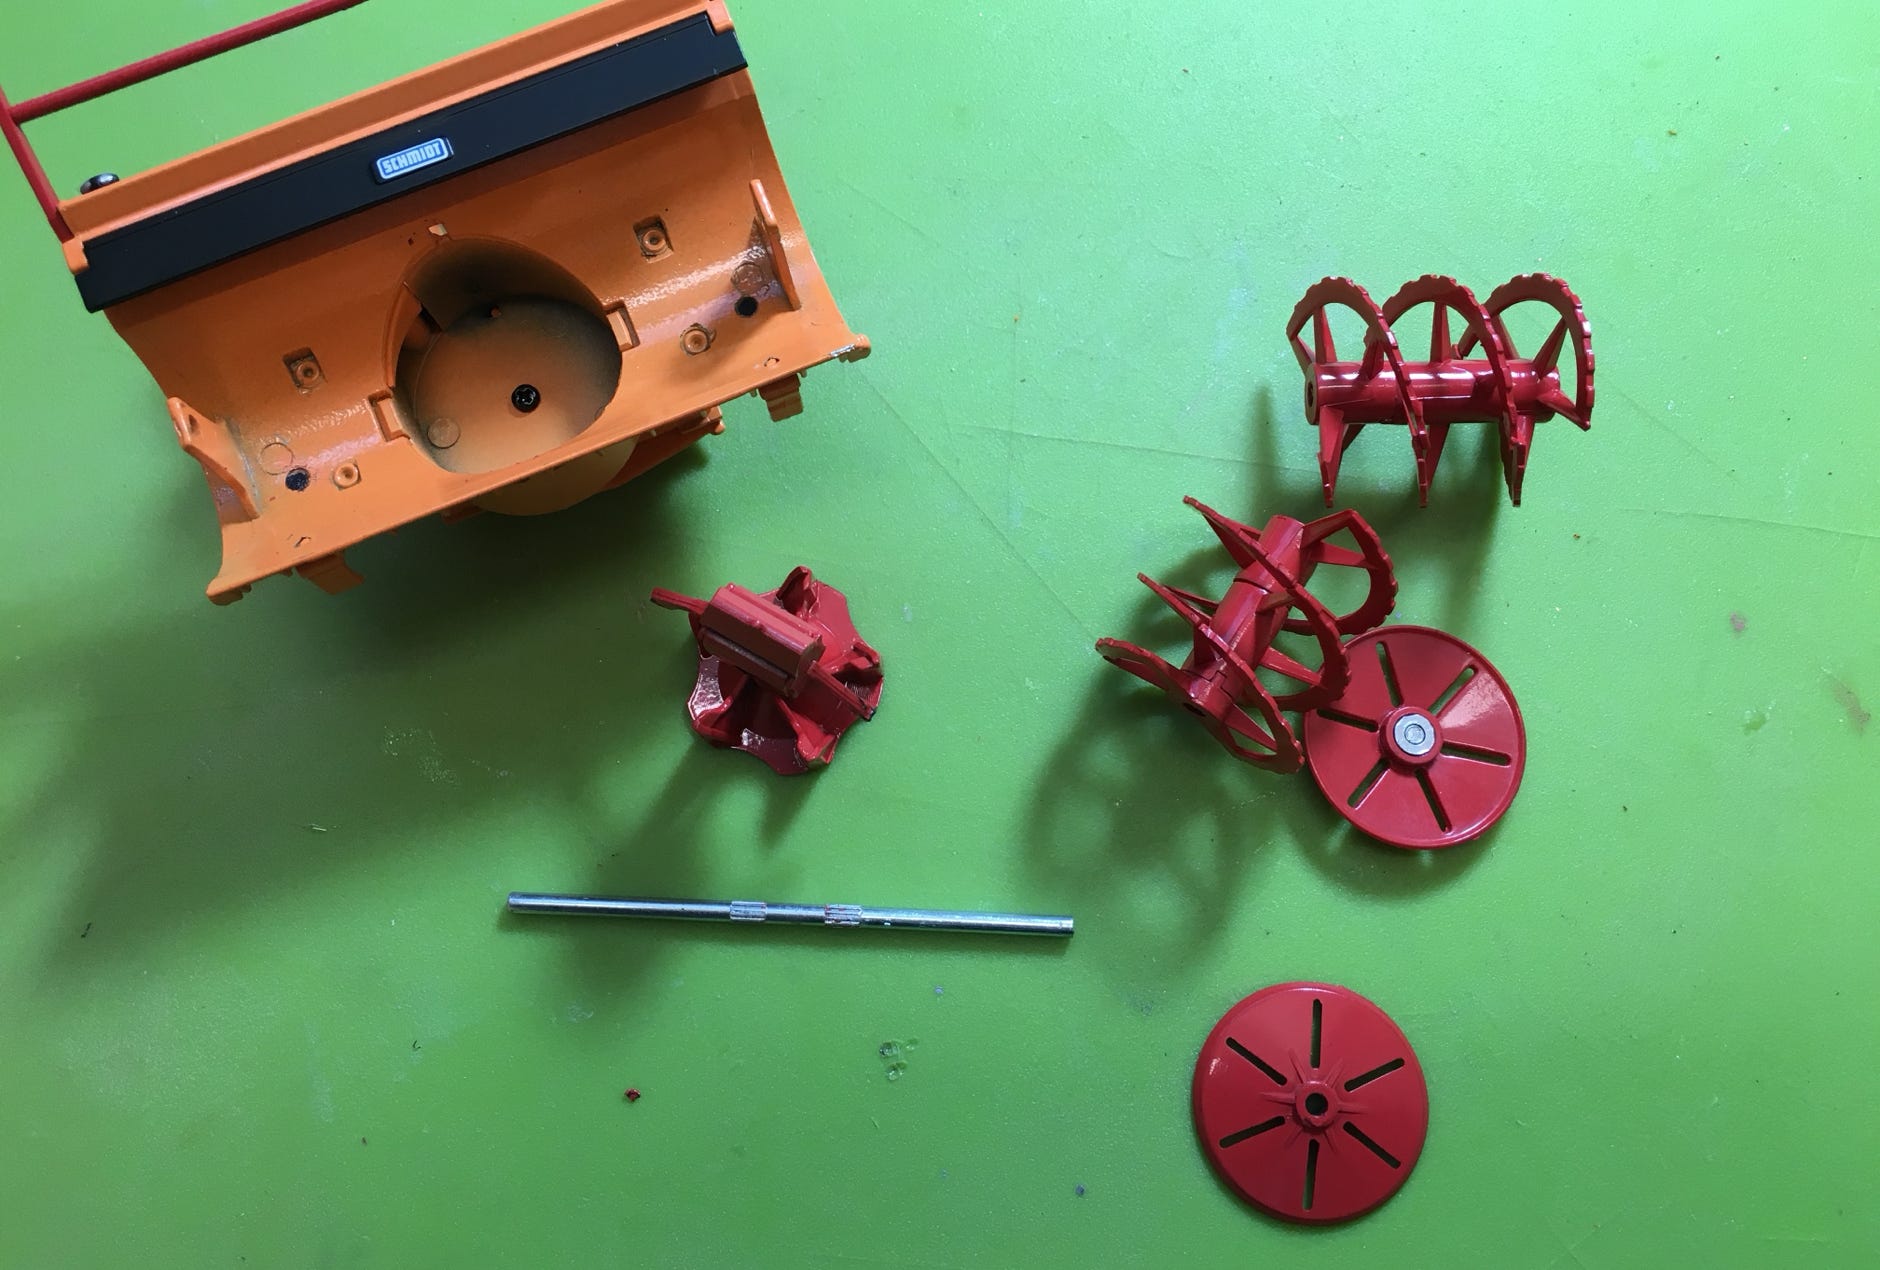
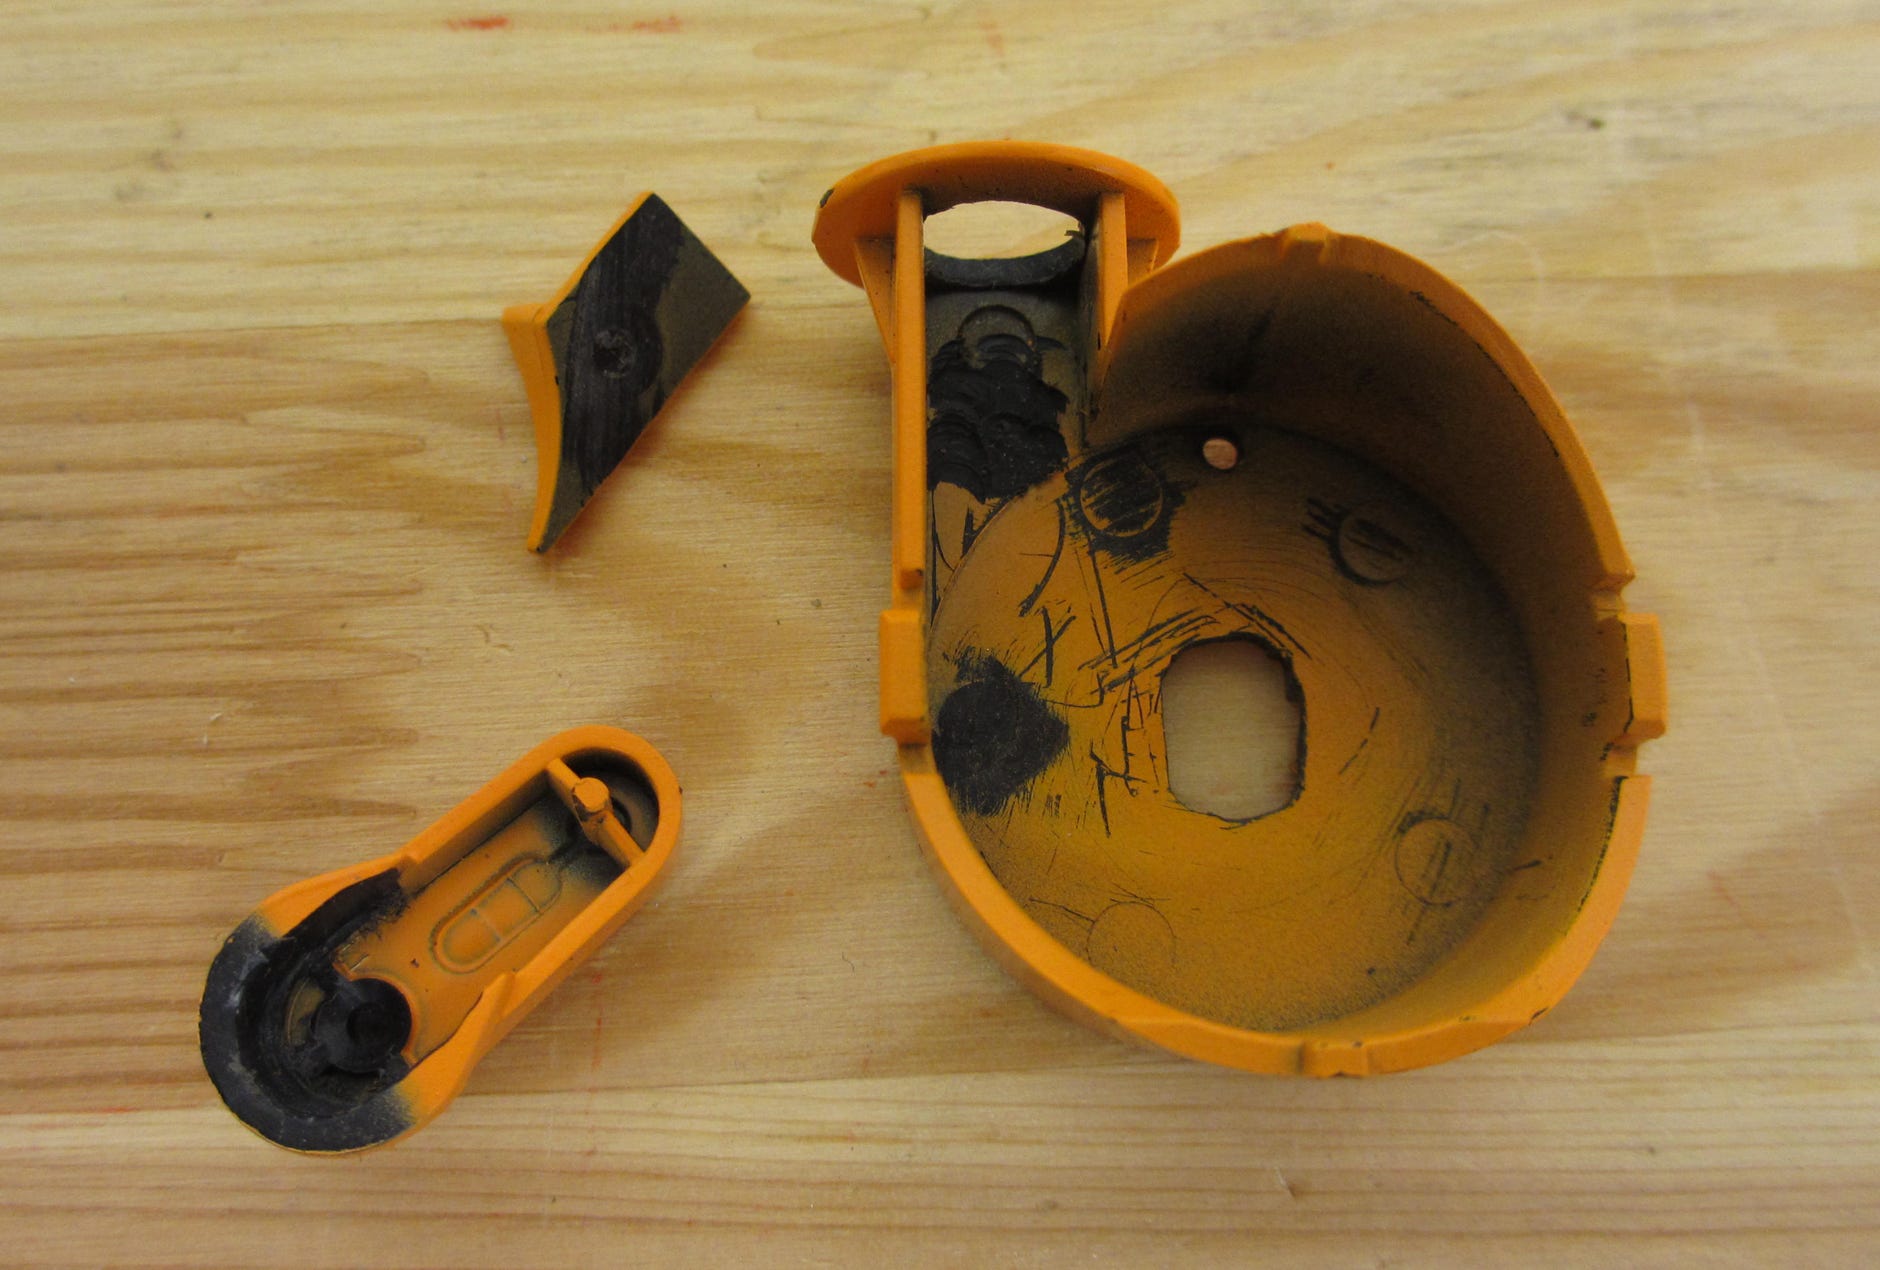
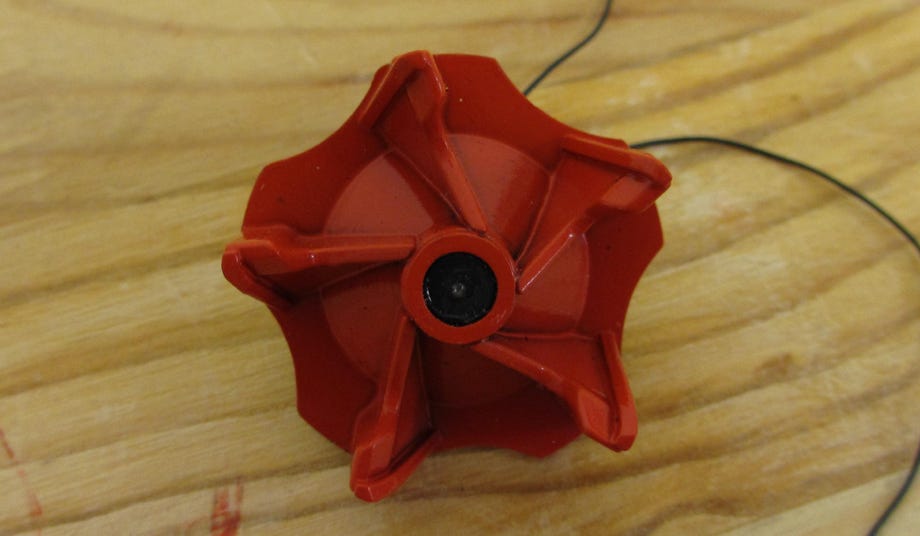
Parts of the snowblower
After I had now all the single parts available we started drilling them out. Luckily all parts which have to be modified are made of plastic, which makes the job relatively easy. The chute is completely closed and has to be opened of course. Otherwise no snow could be blown out here.
chute outlet from above
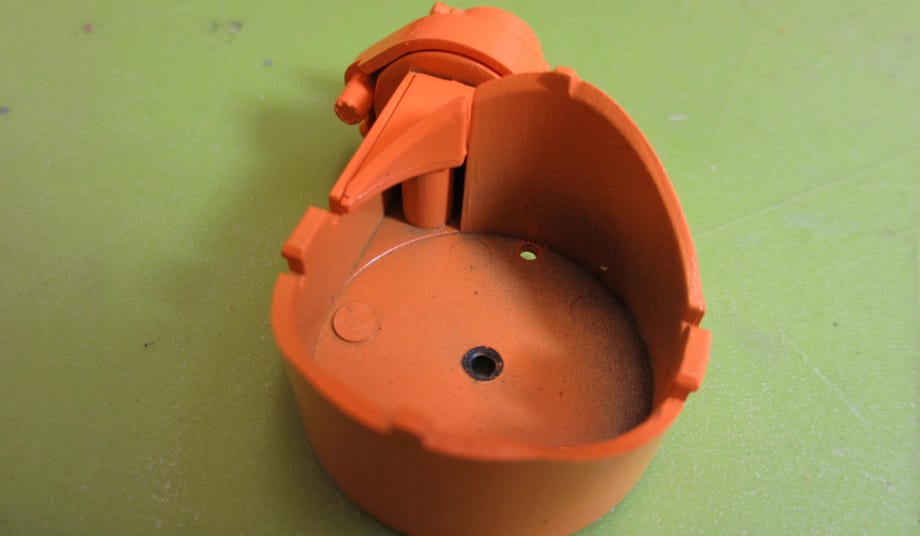
Blower housing and chute
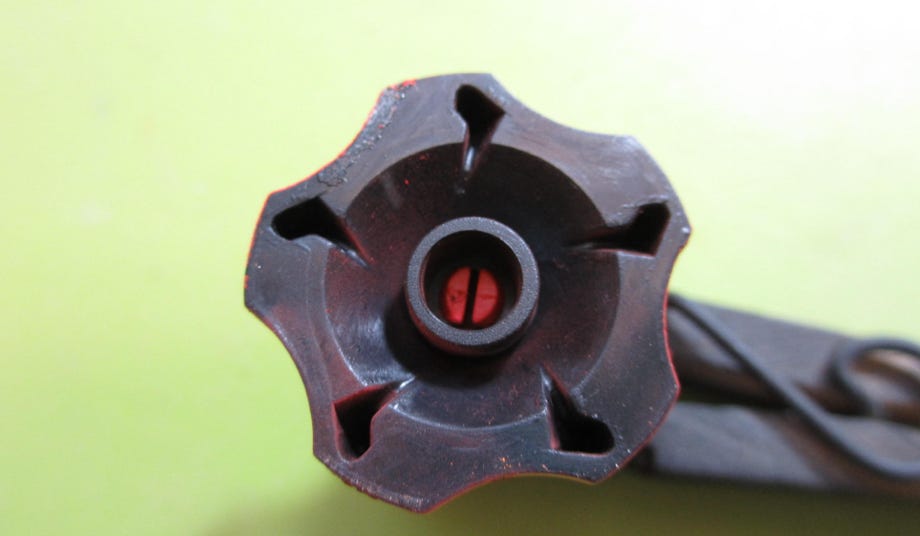
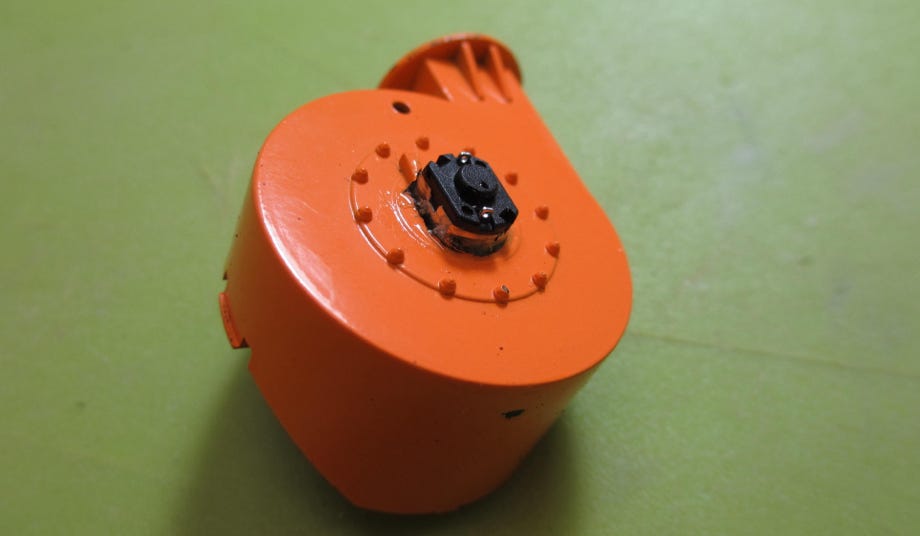
Blower fan motor cover
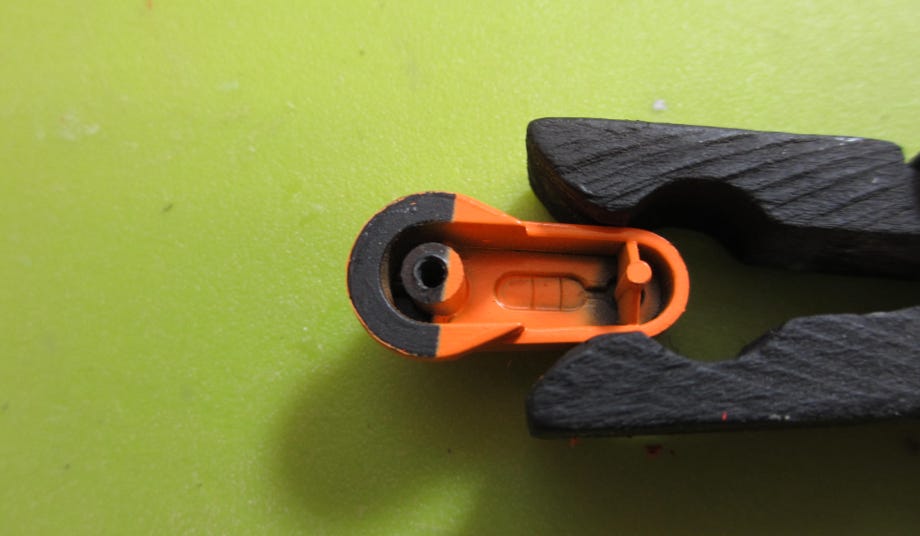
Blower fan backside
I mounted the parts in a vise and carefully drilled them out. The rest was removed by using a Proxxon Micromot tool and micro files. The backside of the blower housing must be smooth, for this 1-2 pin marks have to be sanded, see picture below:
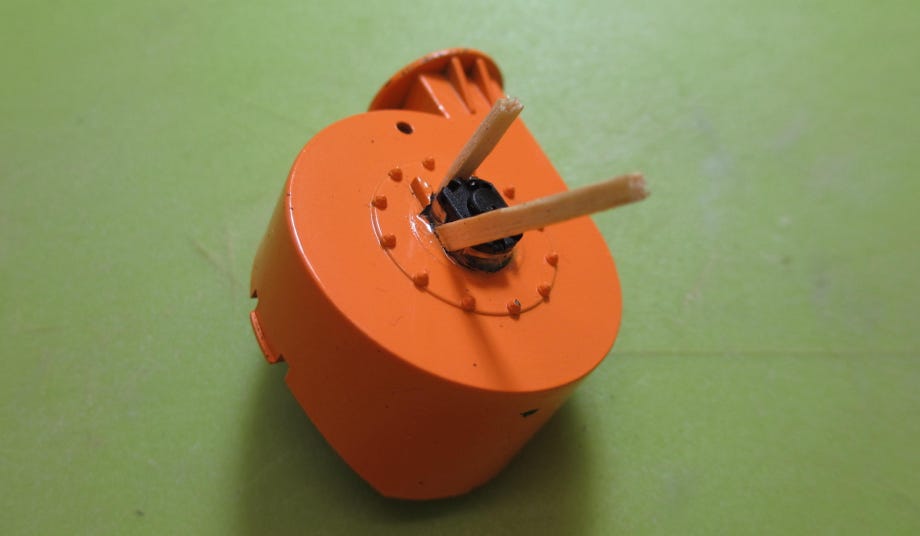
Blower fan housing and blower motor cover with the drilled out chute
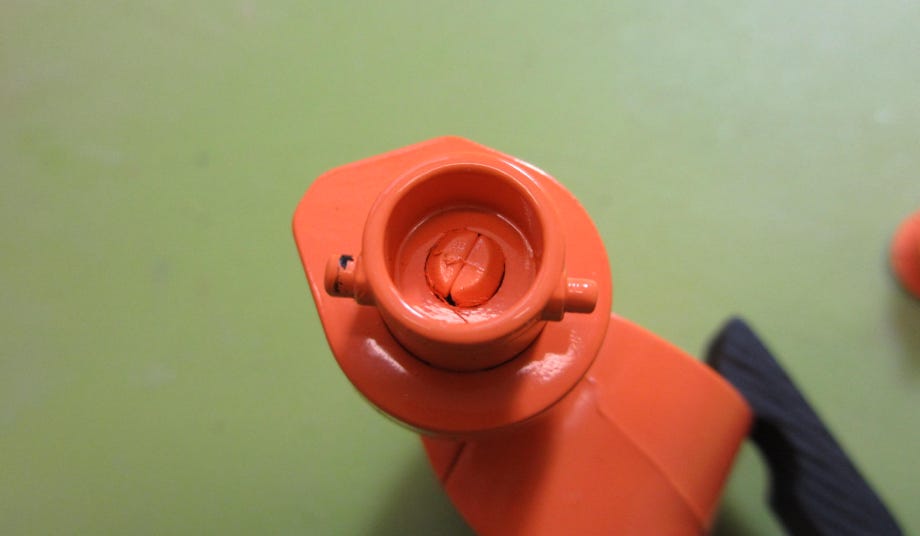
At the blower fan the center pivot was removed with a 45°-countersink (see picture below left) to make room for the motor. For the same reason the mounting pin for the blower fan had to be cut off (see picture below right).

Drilling out the blower fan with a countersink
Cutting the pin at the drum gear box shaft
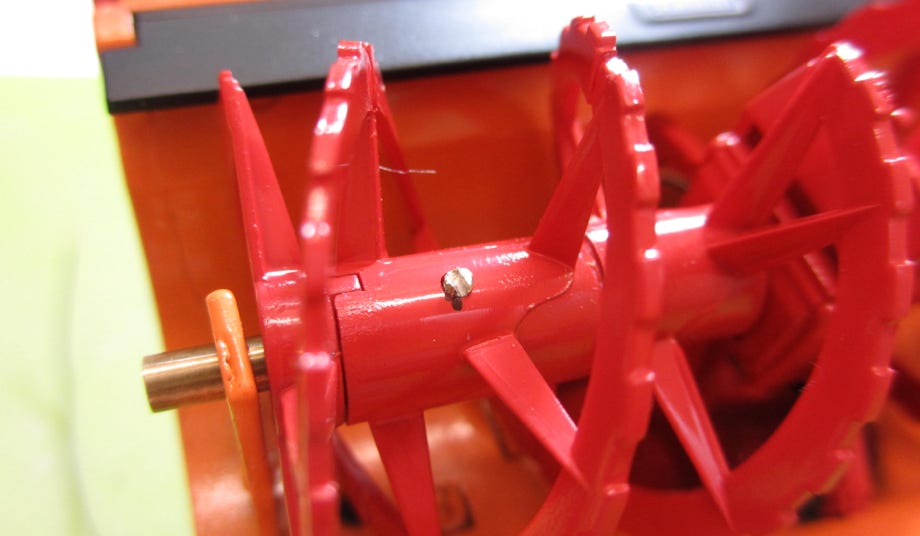
Finally I drilled out the drums to make room for the motors. This is the most difficult part, and therefore I worked diligently. I carefully clamped the drum in a vise by using rubber parts so that they just could not be rotated by hand anymore. Then I drilled in several steps, first with a 4 mm drill, then 5 mm, at low speed and working slowly. Finally I used a 6,5 mm (or 1/4") to get enough clearance for the motor-gearbox-unit with 6 mm diameter. In most cases the top segment will get loose, which can be quickly fixed with super glue. The loose ends of the conveyor screw were also glued together with super glue, of course the paint was removed beforehand with a knife.
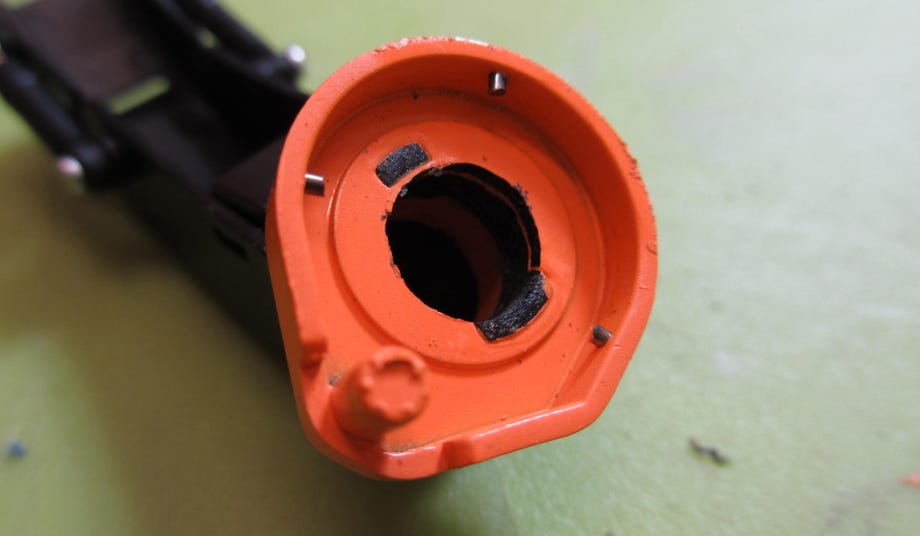
After I hollowed out the chutes the mounting pin was gone. Of course I wanted them to rotate and therefore the simplest solution to simply glue them in a fixed position was a no go. After some brain storming Icut short pieces from 1 mm steel wire and glued them into the base of the chute ring (see right photo)
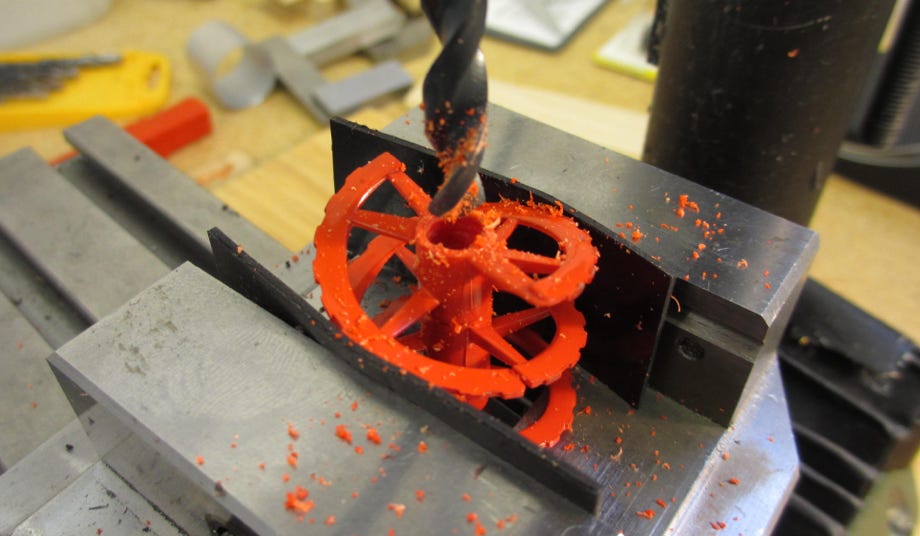
Carefully drilling out the drum
Steel pins a the base of the chute
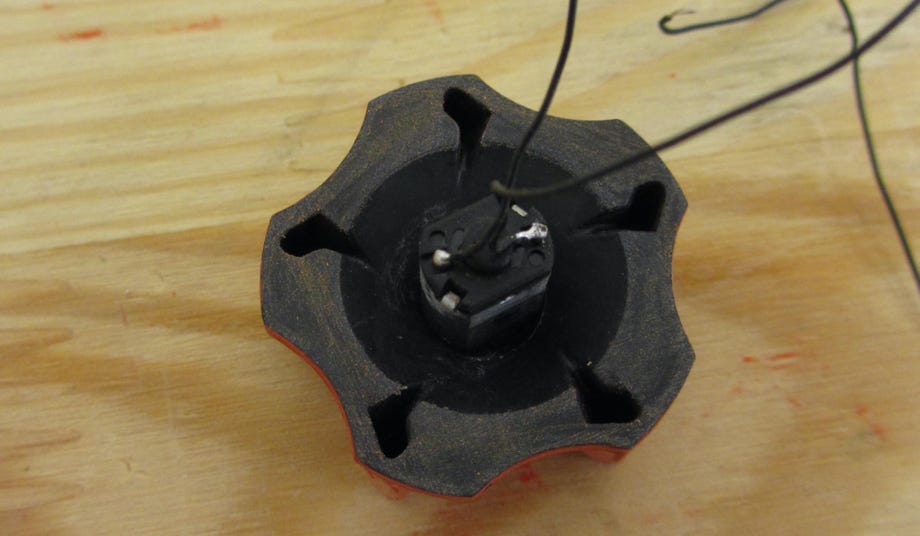
To drive the drums I ordered this motor-gearbox units, and this micro motor for the blower fan. I carefully drilled out the gear box for the drums to the outer diameter of the motor-gearbox unit of 6 mm. I made a fitting hub for the blower fan out of plastic on my lathe with a 1 mm center bore for the motor shaft. The hub was glued with super glue into the blower fan, and later the motor shaft into the hub again using super glue.
Drive motor for the blower fan
Blower fan hub
Glueing the blower fan motor in place
Glued blower fan motor
I milled a fitting opening for the motor into the blower housing. The motor was carefully positioned so that the blower fan can rotate absolutely freely. For glueing I kept it in position with tooth picks (see pictures above)
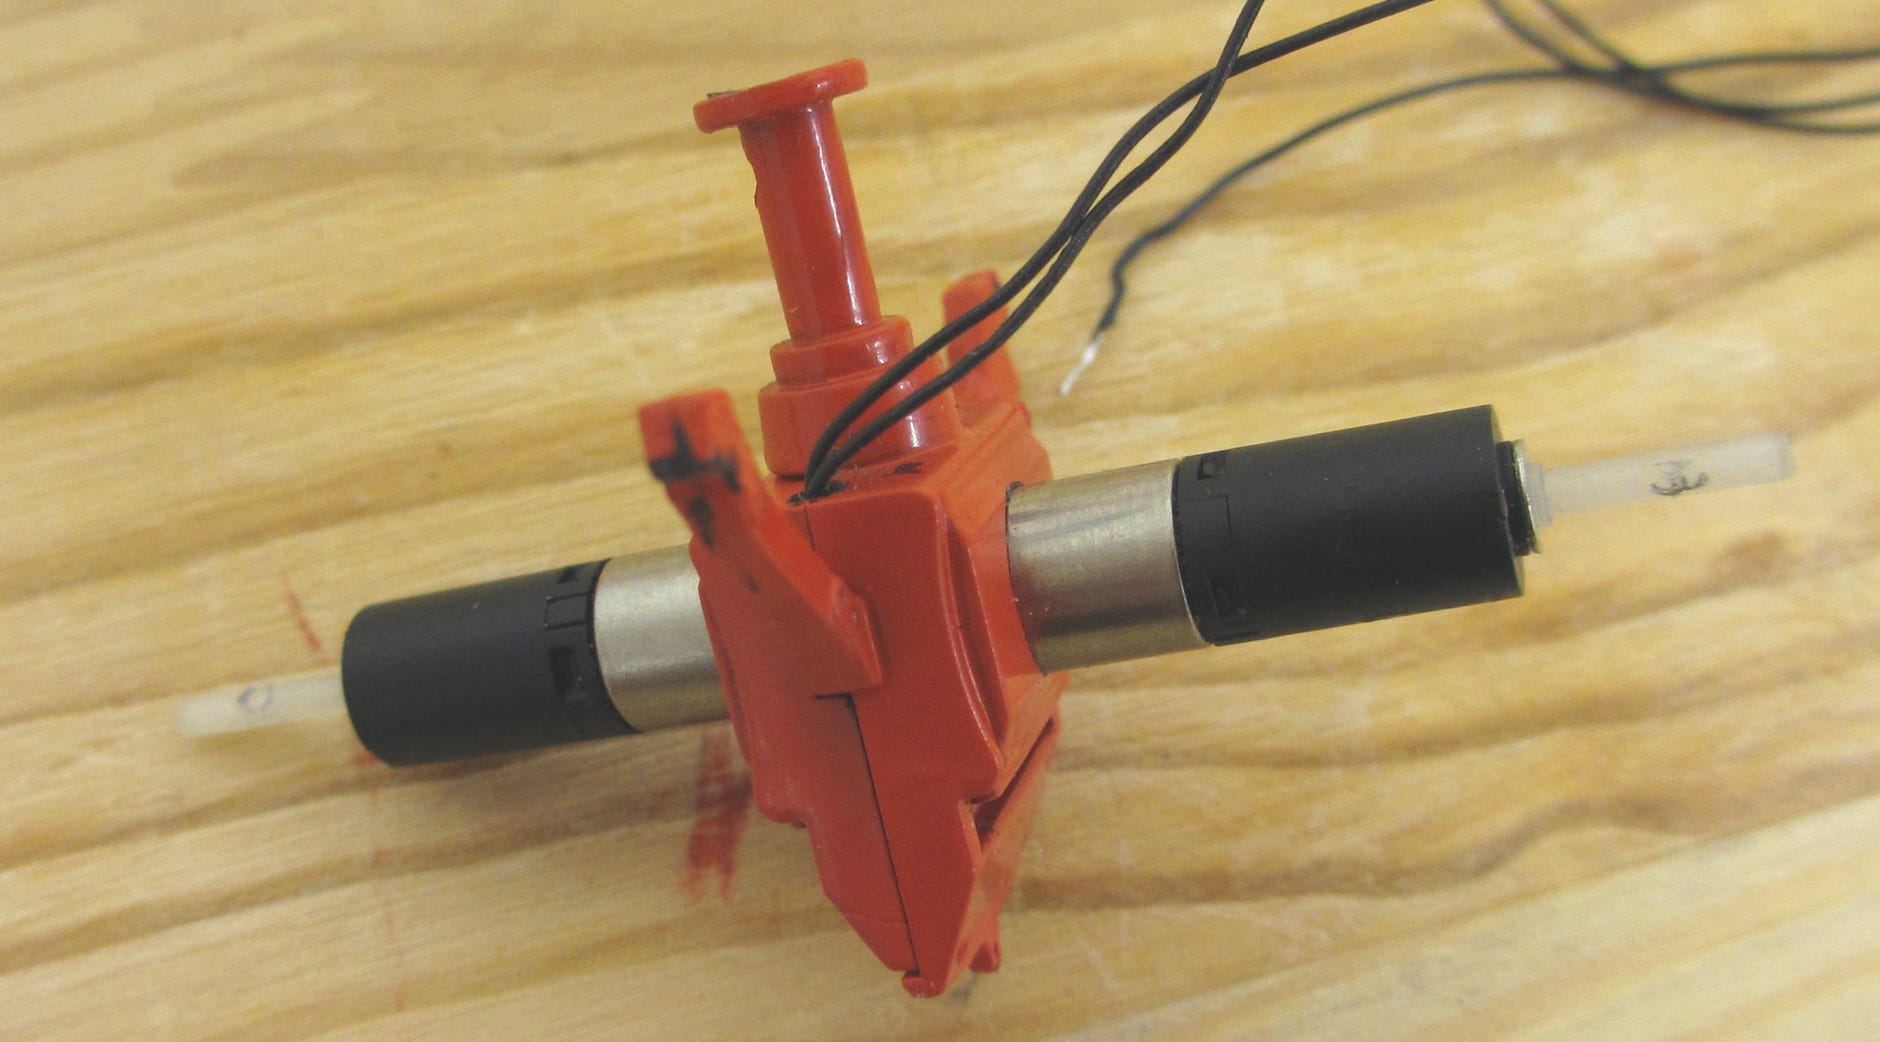
Micro motor-gearbox units to drive the drums
Soldering the wires to the drum motors was quite some fumbling. I stored the soldered wire ends in opposite cavities of the housing to avoid them getting in contact. The motor-gearbox units were glued with super glue in place.
To drive the drums I made shafts from 3 mm brass wire on the lathe, with a 1,5 mm drilling for the motor shaft. The drums have different widths, therefore the lengths of the shafts are left 21,5 mm and right 18,5 mm. To drive the drums I used a M1,6 worm screw which I made myself.
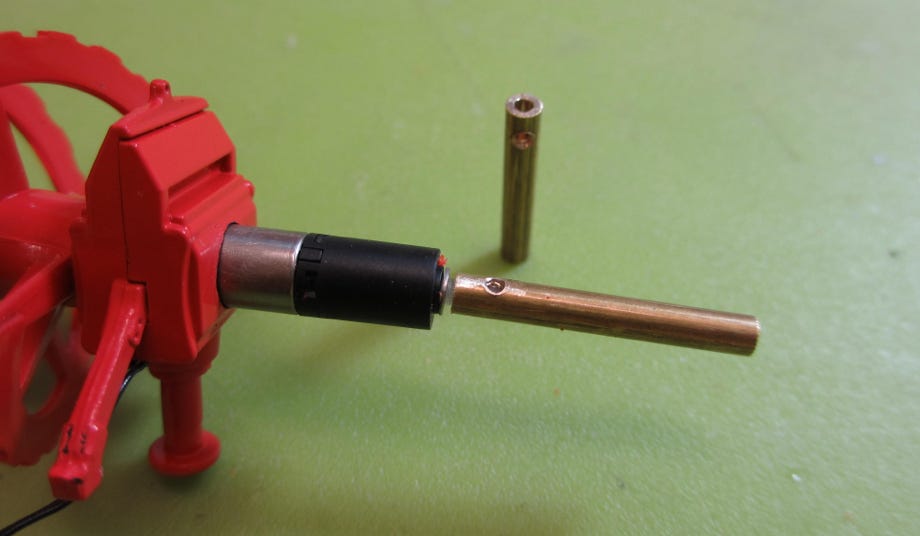
Shafts for the drums
M1,6 worm screw as shaft driver
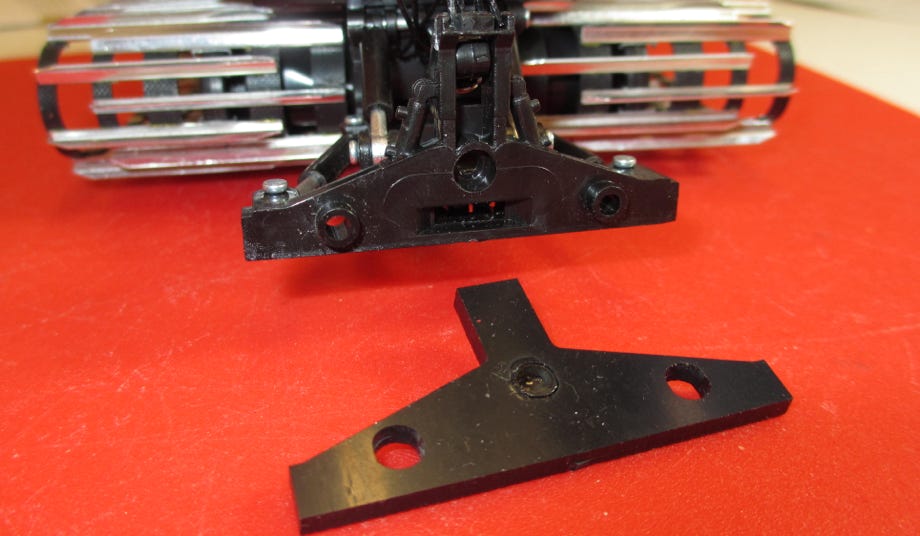
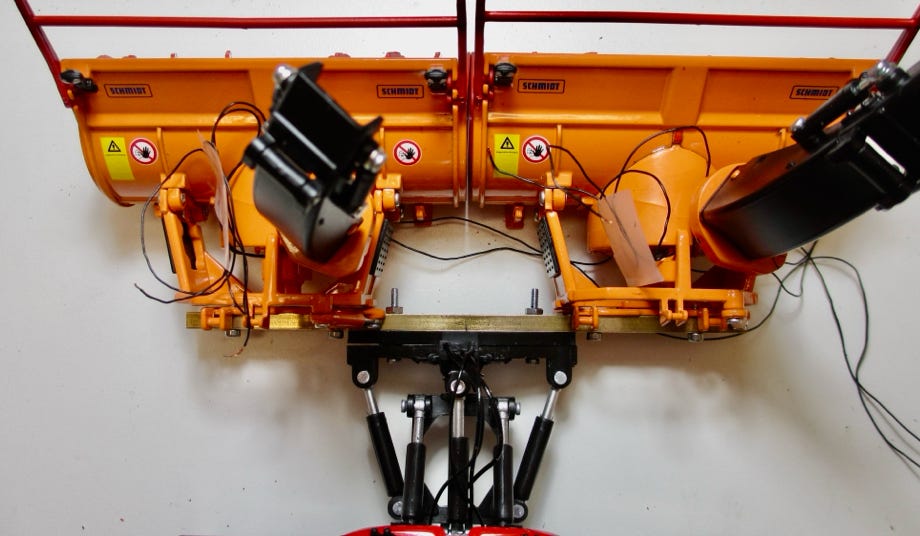
The snow blade can be removed, it is hold in place with a hard to reach screw. After measuring the mounting pins I made a mounting plate out of black plastic on my Stepcraft CNC milling machine. I connected the two snow blowers with a square brass tube by tapping M2 threads into the mounts. I glued the brass tube to the plate and attached it with M2-bolts to the device carrier. Finally I made a mounting frame similar to the original.
A PDF of the drawing with dimensions for the mounting plate can be downloaded here.
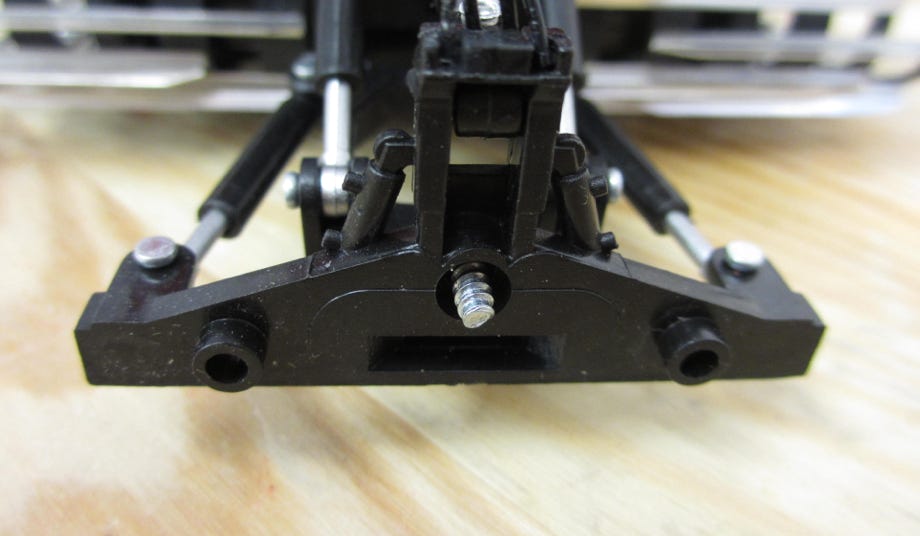
JC PB400 blade carrier
CNC-milled mounting plate for the snow blower
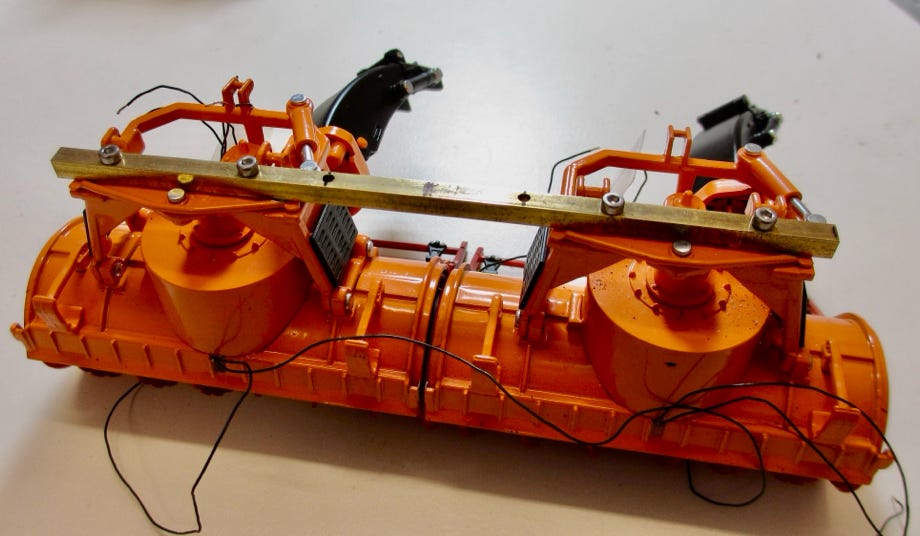
Connecting both snow blowers with a square brass tube
Mounting of the double snow blower onto the device carrier of our JC PB400
I made a frame out of square brass tubes to mount the blower to the device carrier. The wires were glued to the underside. They will be connected to the snow cat with a plug.
Mounting frame for the double snowblower
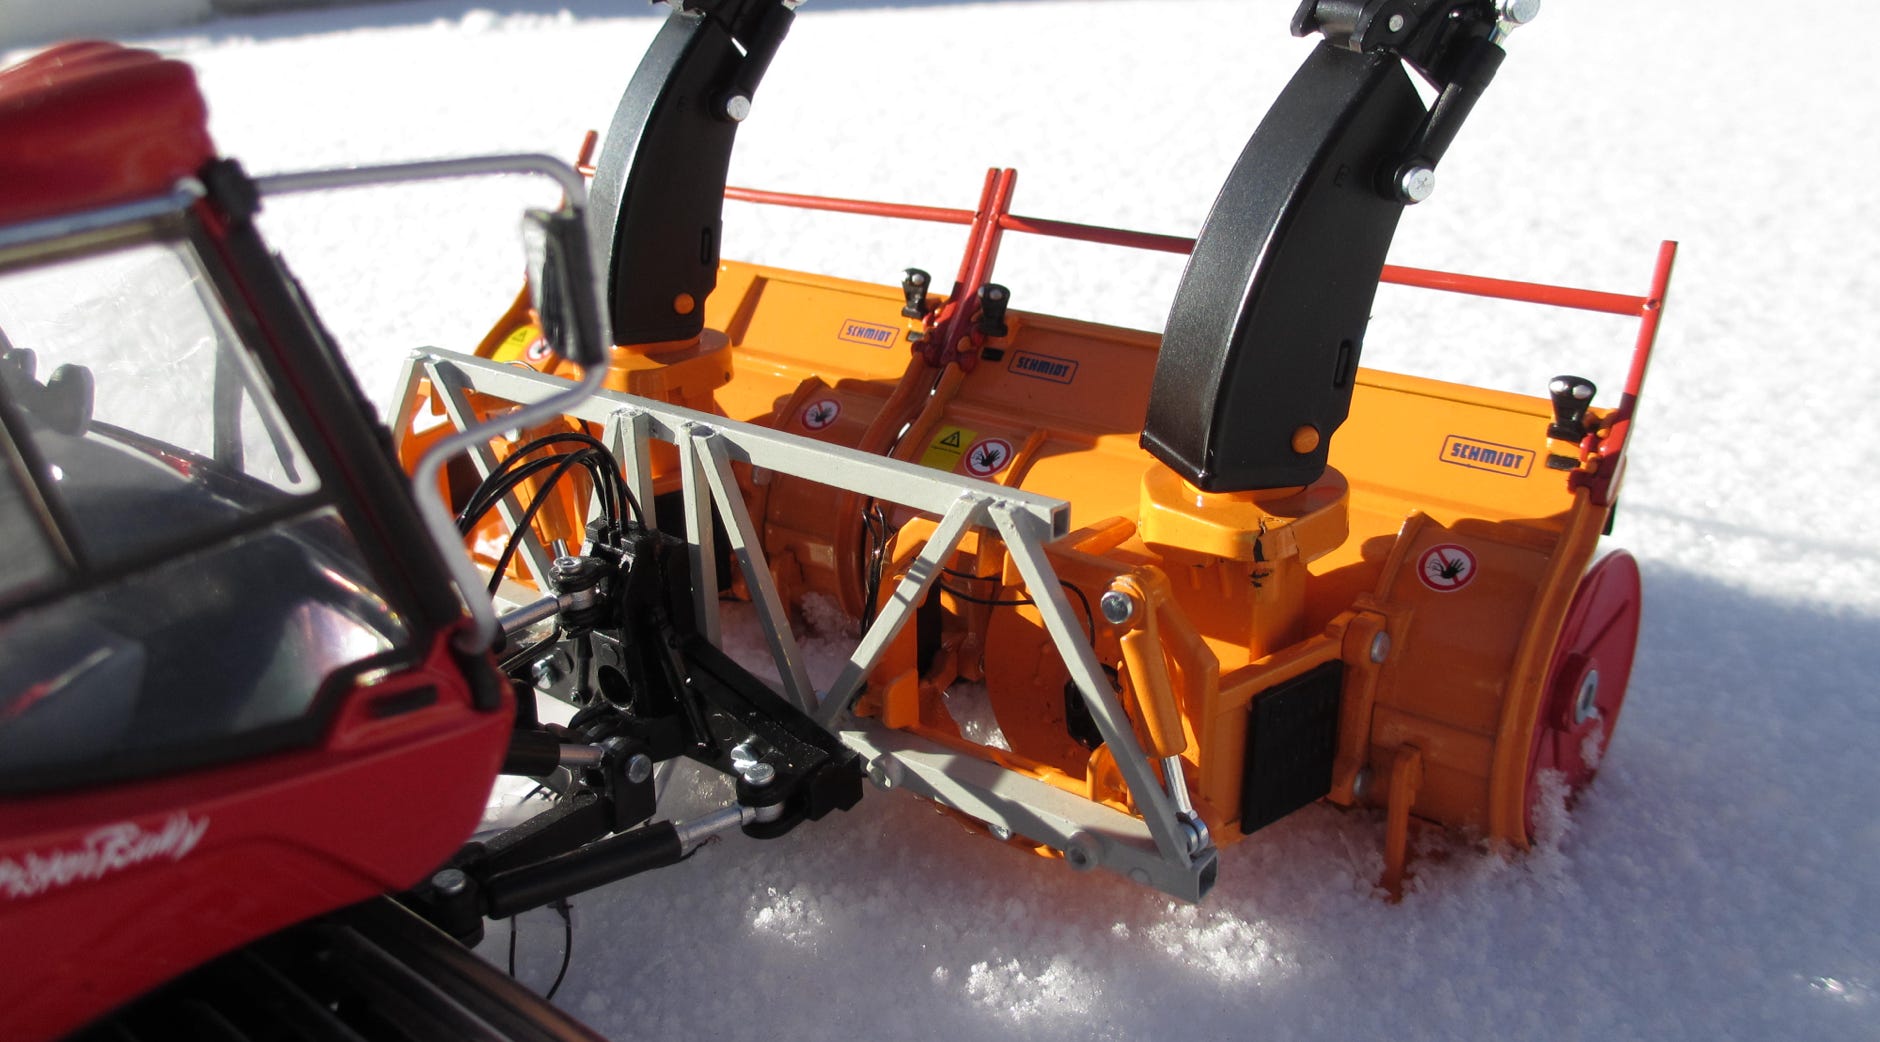
I abandoned my first plan to power the blower by the snow cat battery. It is now powered by a separate LiPo 1S battery which I simply put on the platform with a micro switch (see picture to the left).
This is optically not the perfect solution, but it's sufficient for the test runs for the time being.
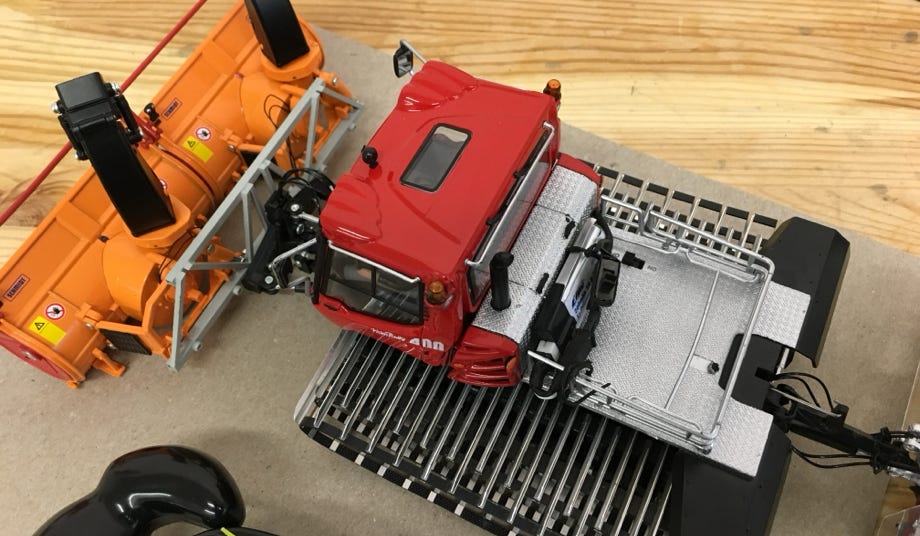
The snowblower in it's element. A test run could not be performed at this time.
The first test run in snow, a light fine grained powder at -6°C, were rather disappointing. The blower housings block up very quickly, and the speed of the motors gets significantly reduced. The right blower fan motor blocked quickly and is therefore already inactive in the video. The snow blower as such is functioning as can be seen by the blown out snow. With the JC radio it is rather difficult to move the snow cat slowly enough. Therefore I simply moved it by hand for test. The next step will be the installation of more powerful blower fan motors.
The german magazine TRUCKmodell 3/2016 issued an article by Klaus Bergdolt and me about the modification of the snowblower with lots of advice. It's in German language.
The article can be downloaded as PDF file, with friendly permission by the magazine. Just click on the picture for downloading.
Diese Seite verwendet Cookies. Sie stimmen der Verwendung von Cookies durch Anklicken von “OK” zu. Nähere Informationen finden Sie in unseren Datenschutzbestimmungen.
This page is using Cookies. You are permitting the use of cookies by clicking on “OK”. More information can be found at our Privacy Protection.


